How to Use a Cast Iron Juicer
Key Takeaways
- Choose the right fruits for juicing.
- Prepare your juicer and workspace before starting.
- Follow the proper juicing techniques for maximum yield.
- Clean your juicer thoroughly after use.
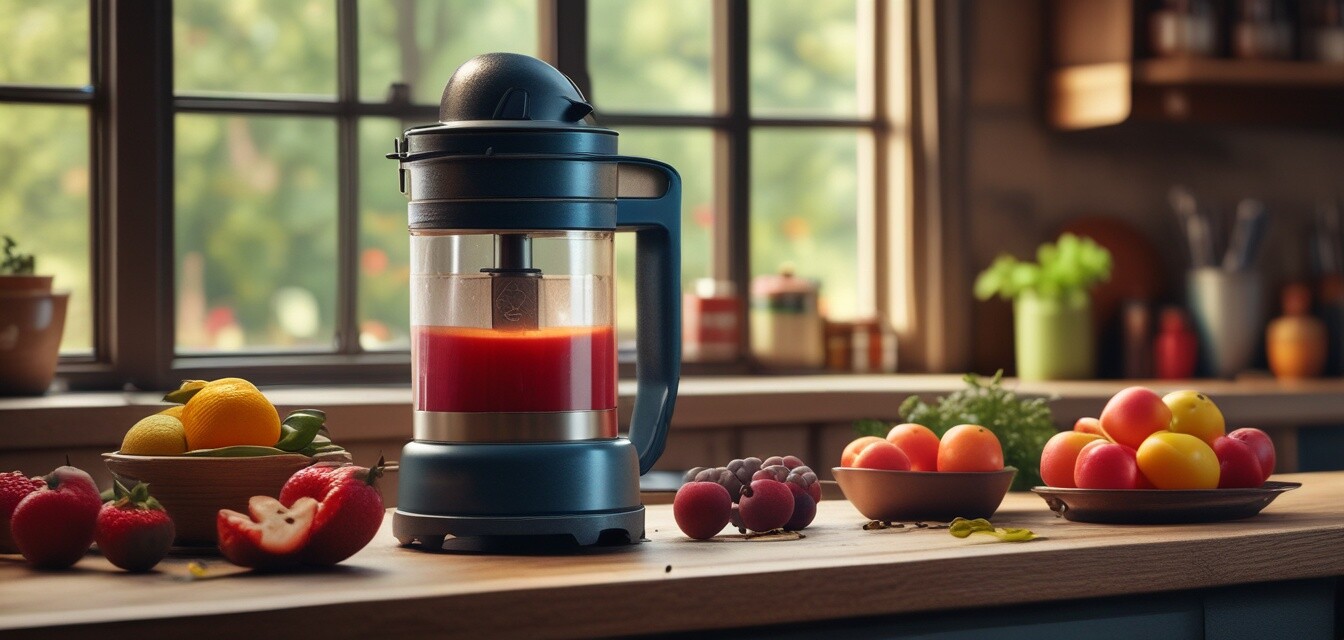
Using a cast iron juicer can be a rewarding experience, allowing you to extract fresh juice from fruits with ease. In this comprehensive guide, we’ll walk you through the steps to effectively use a cast iron juicer, ensuring you get the best results from your juicing efforts.
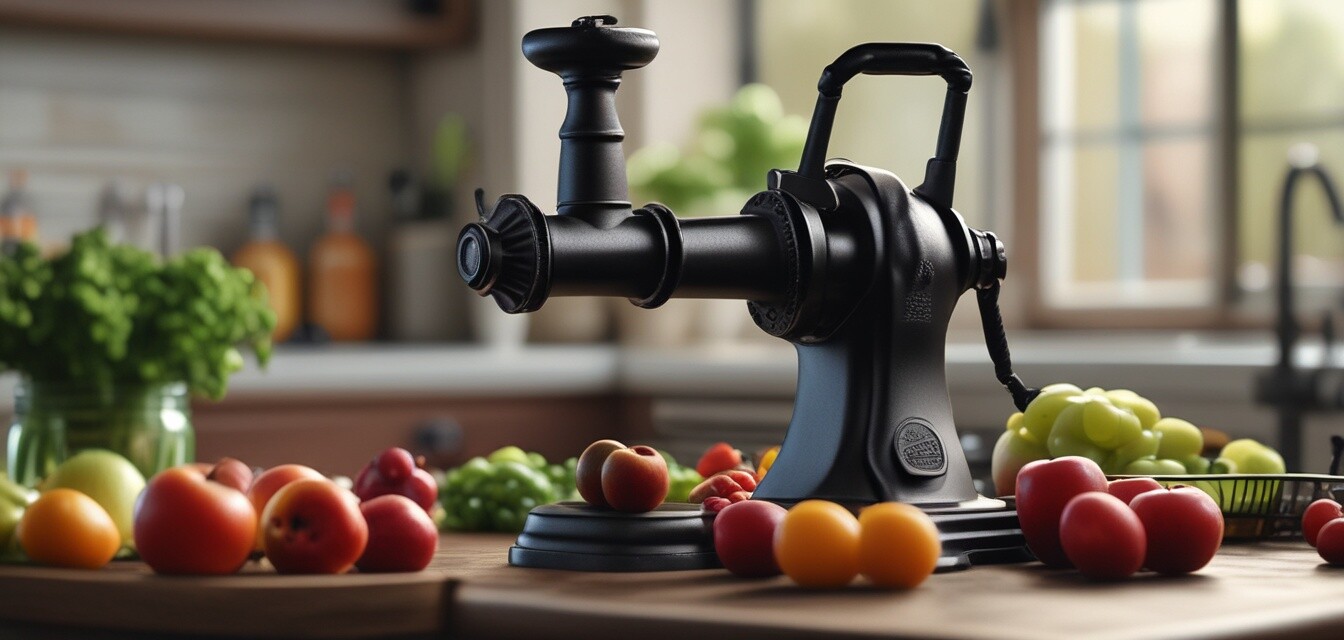
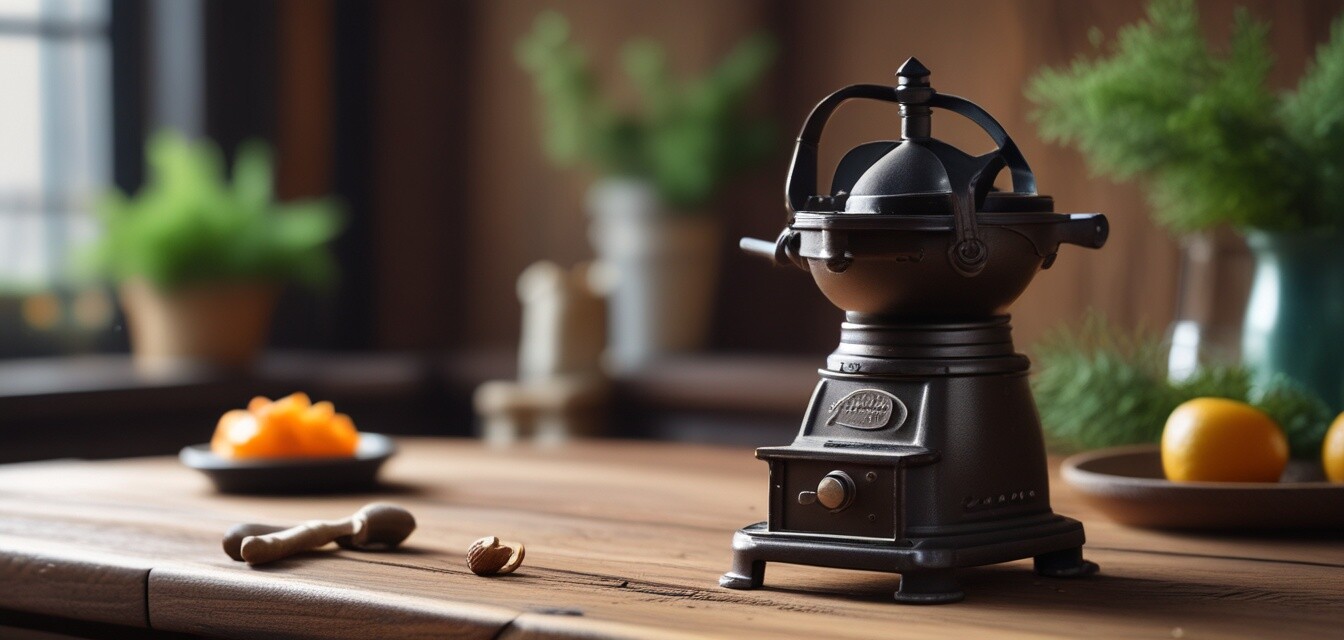
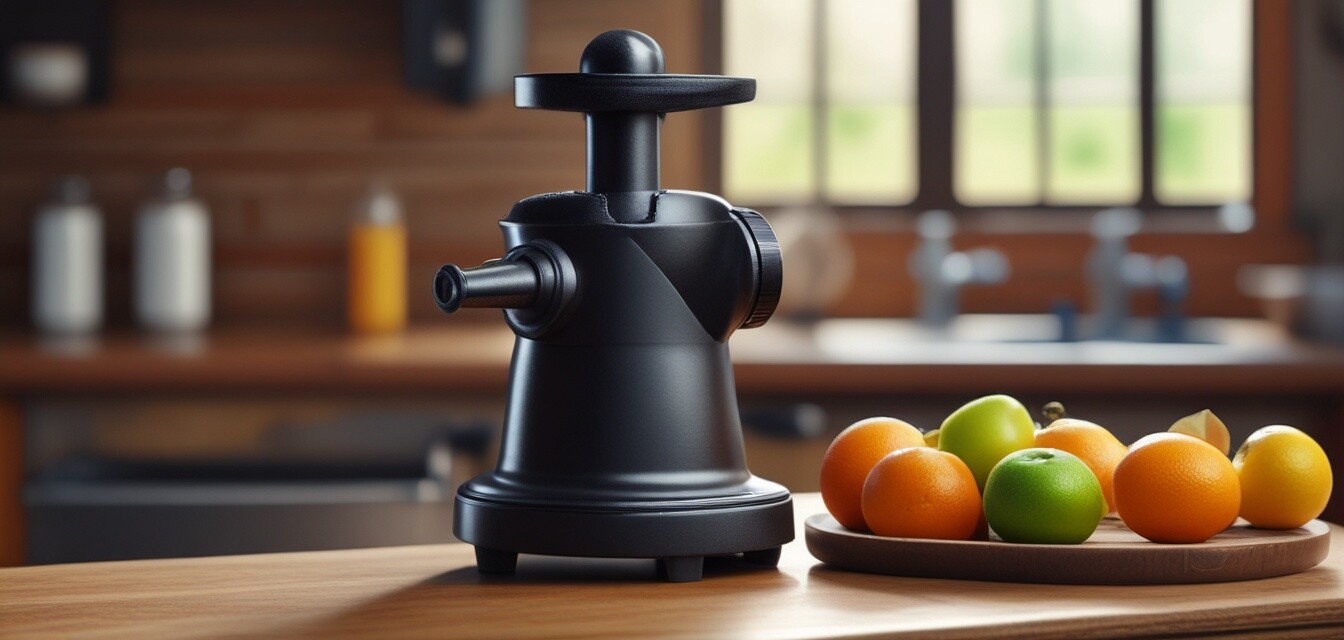
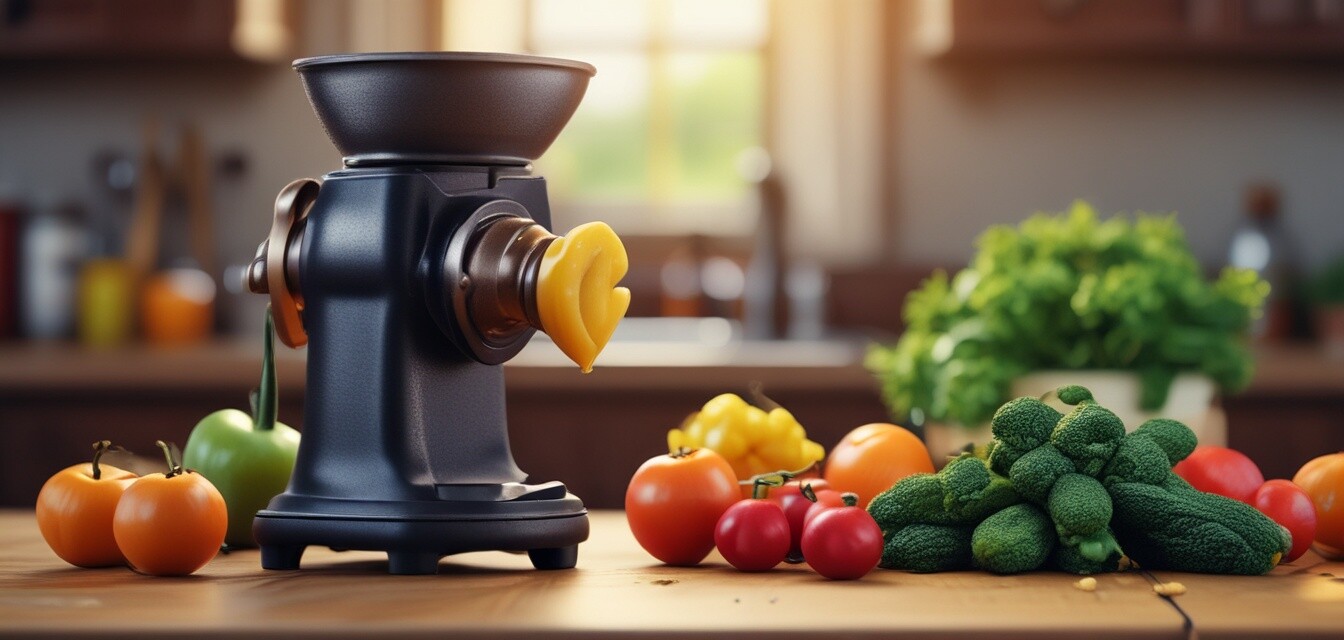
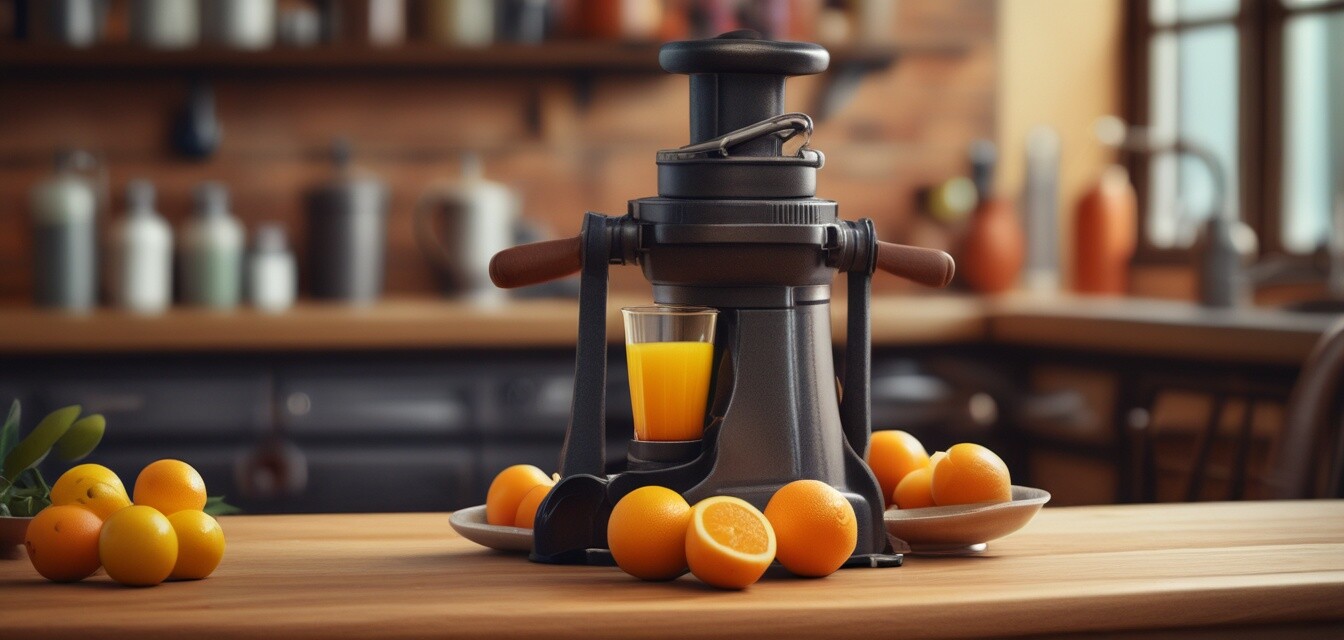
Understanding Your Cast Iron Juicer
Before diving into the juicing process, it's essential to understand the components of your cast iron juicer. Here’s a quick overview:
| Part | Description |
|---|---|
| Juicing Bowl | Holds the fruit while juicing. |
| Press | Applies pressure to extract juice from the fruit. |
| Spout | Directs the juice into your container. |
Step-by-Step Guide to Using a Cast Iron Juicer
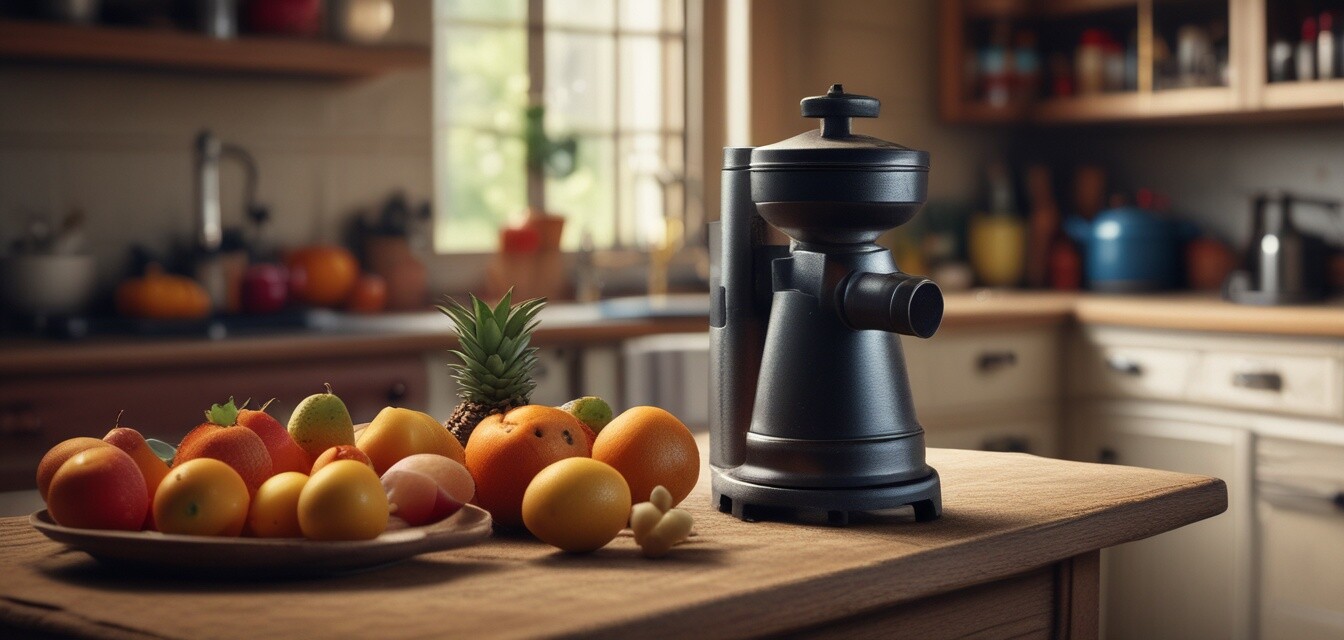
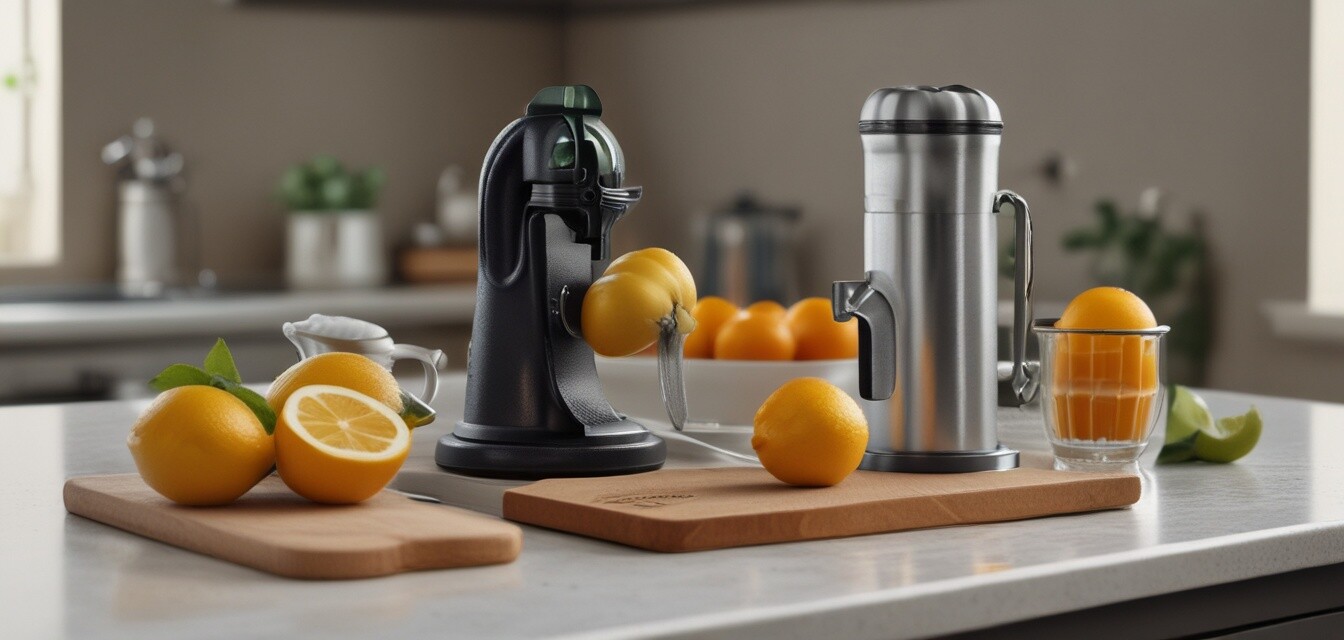
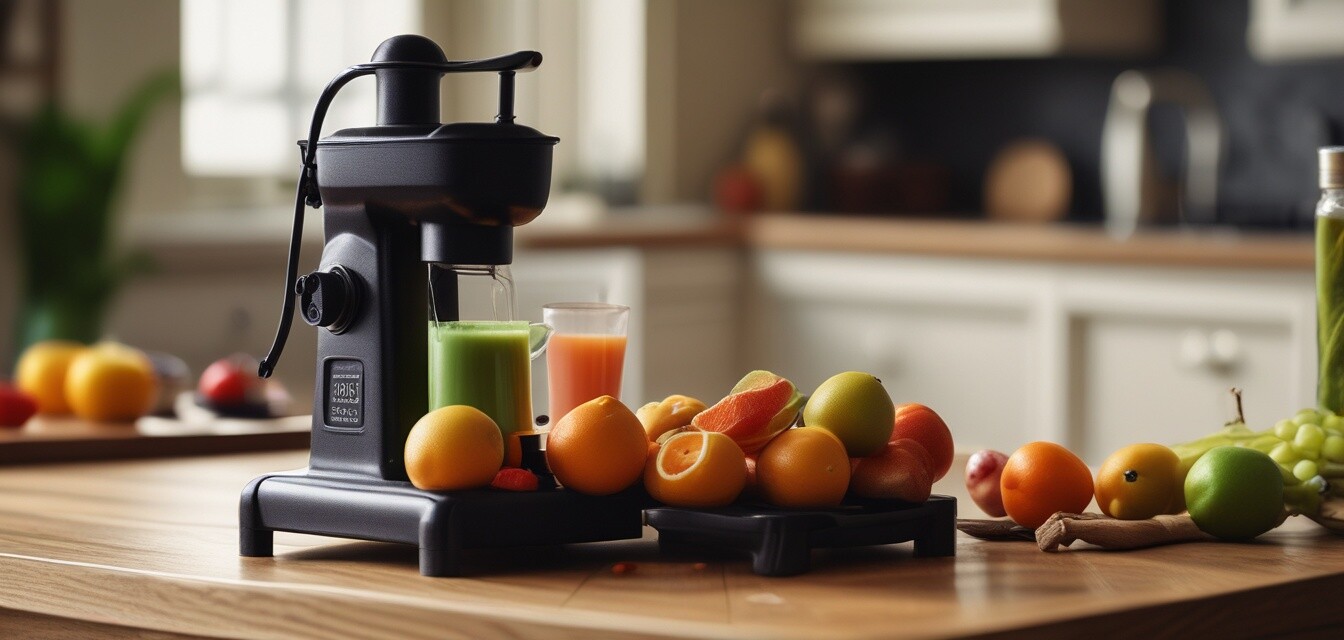
Step 1: Choose Your Fruits
Choose fresh fruits that are suitable for juicing. Some popular options include:
- Citrus fruits (oranges, lemons, limes)
- Pomegranates
- Apples
Step 2: Prepare Your Workspace
Ensure that your workspace is clean and organized. Gather all necessary items:
- Your cast iron juicer
- Fresh fruits
- Juice container
- Cutting board and knife
Step 3: Cut the Fruits
Wash the fruits thoroughly and cut them in half or quarters, depending on their size. For example:
- Oranges and lemons can be halved.
- Pomegranates can be quartered for easier juicing.
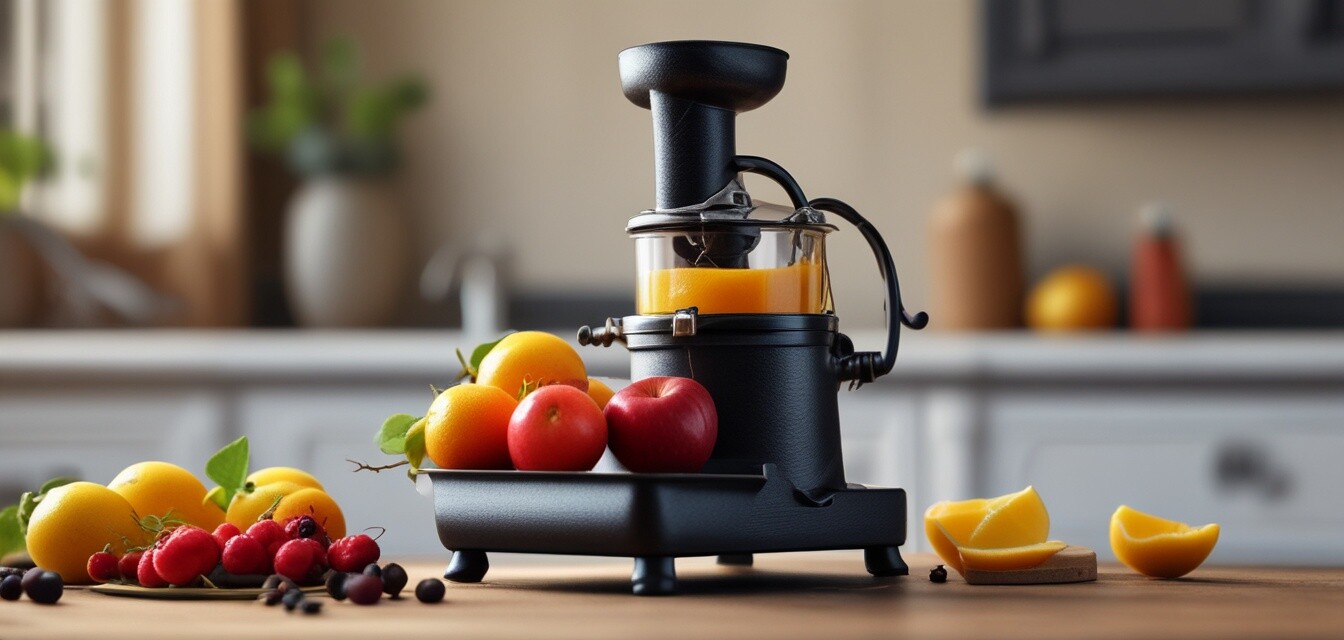
Step 4: Position the Fruit in the Juicer
Place the cut fruit into the juicing bowl of the cast iron juicer, ensuring that the cut side is facing down.
Step 5: Apply Pressure
Using the press, apply downward pressure to extract the juice. Ensure that you apply even pressure for the best results.
Step 6: Collect the Juice
Allow the juice to flow through the spout into your container. You might want to use a strainer if you prefer pulp-free juice.
Step 7: Clean Your Juicer
After juicing, it's crucial to clean your cast iron juicer properly. Here’s how:
- Rinse the juicer immediately after use.
- Use warm soapy water and a soft brush to scrub.
- Dry thoroughly to prevent rust.
Tips for Best Results
Beginner Tips
- Start with softer fruits for easier juicing.
- Experiment with mixing different types of fruits for unique flavors.
- Practice proper technique to improve your juicing efficiency.
Common Mistakes to Avoid
- Not cleaning the juicer immediately after use.
- Using overly ripe or damaged fruits.
- Applying uneven pressure when juicing.
FAQs about Cast Iron Juicers
What fruits can I juice using a cast iron juicer?
You can juice a variety of fruits including citrus fruits, pomegranates, and even some soft apples.
How do I maintain my cast iron juicer?
Clean it immediately after use, dry it thoroughly, and consider seasoning it with a small amount of oil to prevent rust.
Can I juice vegetables with a cast iron juicer?
While cast iron juicers are primarily designed for fruits, some softer vegetables can be juiced as well. However, it's not as effective for hard vegetables.
Conclusion
Using a cast iron juicer is a straightforward process that can yield delicious and fresh juice. By following these steps and tips, you'll be able to enjoy the benefits of homemade juice in no time!
Pros
- Durable and long-lasting material.
- Easy to clean and maintain.
- Effective in extracting juice from fruits.
Cons
- Can be heavy and difficult to maneuver.
- Requires more effort compared to electric juicers.
- May not be suitable for all types of fruits.
Explore More Juicer Types
If you're interested in exploring different types of juicers, check out these pages:
- Citrus Juicers
- Cold Press Juicers
- Hydraulic Press Juicers
- Manual Cast Iron Juicers
- Pomegranate Juicers
- Wheatgrass Juicers
Additional Resources
For more information on juicing techniques and recipes, explore our blog for the latest tips and tricks!