A Step-by-Step Guide to Juicing with Cast Iron
Key Takeaways
- Understand the advantages of using cast iron juicers for fresh juice.
- Learn the step-by-step process to juice effectively.
- Discover essential cleaning and maintenance tips for your juicer.
- Explore various fruits and vegetables that yield the best juice results.
- Enhance your juicing experience with easy-to-follow tips.
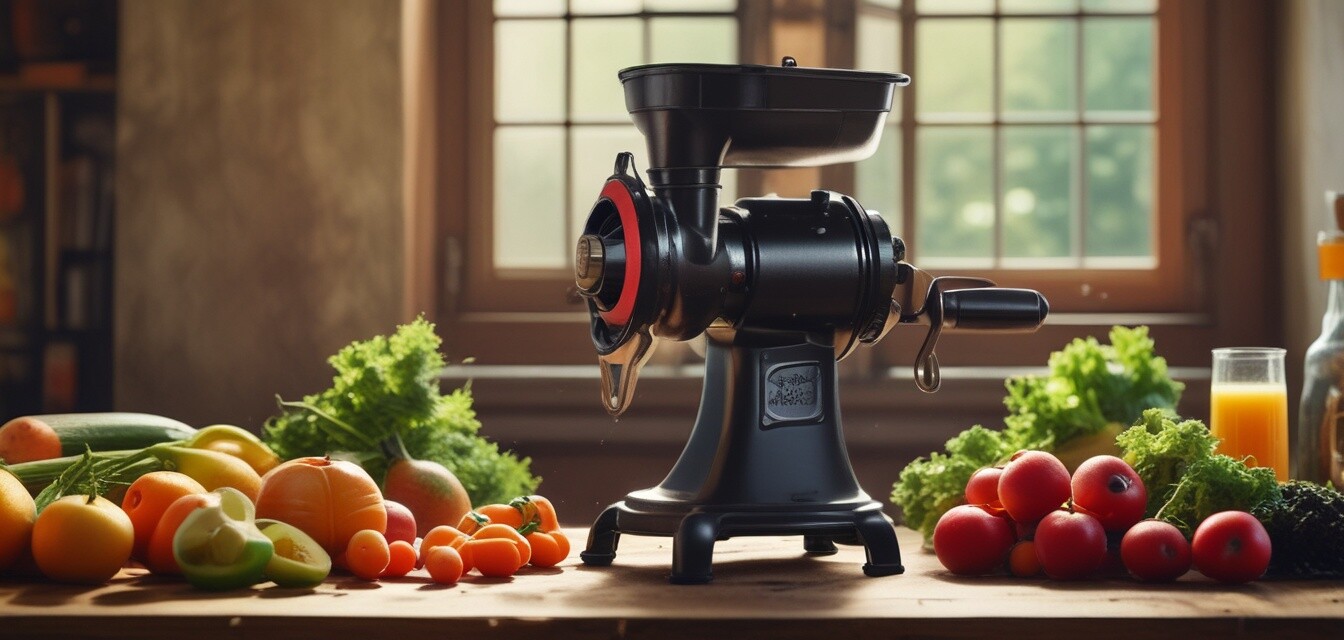
Juicing is an excellent way to incorporate fresh fruits and vegetables into your diet. With a cast iron juicer, you can create delicious juices right at home. This guide provides you with everything you need to know about juicing with cast iron, from getting started to cleaning and maintaining your juicer.
Why choose a cast iron juicer?
Many juicing enthusiasts prefer cast iron juicers due to their durability and efficiency. Here are some reasons why:
- Longevity: Cast iron juicers are built to last, making them a long-term investment.
- Natural flavors: They don't impart any metallic taste, allowing you to enjoy the true flavors of your fruits.
- Efficiency: The heavy material aids in extracting juice more efficiently.
Getting started with juicing
Before you start juicing, ensure you have everything in place. Here’s what you will need:
| Items Needed | Description |
|---|---|
| Fresh fruits and vegetables | Choose a variety based on your taste and health needs. |
| Cast iron juicer | Your primary tool for extracting juice. |
| Cutting board and knife | For prepping your produce. |
| Storage containers | To keep your juice fresh after extraction. |
Step-by-step juicing process
- Prepare your ingredients: Wash your fruits and vegetables thoroughly. Cut them into smaller pieces that fit into your juicer.
- Assemble your juicer: Make sure all parts are clean and correctly assembled. Ensure that the juicer is positioned on a stable surface.
- Juice your ingredients: Feed the cut fruits and vegetables into the juicer while turning the crank to extract the juice. Take your time to ensure maximum yield.
- Strain if necessary: Depending on your preference, you might want to strain the juice to remove pulp.
- Store your juice: Pour the freshly extracted juice into containers and refrigerate if not consumed immediately.
Best practices for juicing
To achieve the best results, consider the following tips:
Juicing tips for beginners
- Experiment with combinations of fruits and veggies to find your favorite flavors.
- Use seasonal produce for the freshest taste and best prices.
- Drink your juice fresh to maximize nutrients and flavor.
- Keep your juicer clean after each use to maintain its efficiency.
Cleaning and maintaining your juicer
Proper cleaning and maintenance can extend the life of your cast iron juicer. Here’s how:
- Disassemble the juicer components after use.
- Wash each part with warm, soapy water and a soft sponge.
- Dry all components thoroughly before reassembling.
- Store the juicer in a cool, dry place, away from humidity.
Conclusion
With this step-by-step guide, you're now prepared to start juicing with your cast iron juicer! Enjoy the process, experiment with various ingredients, and make the most out of your juicing experience. For more engaging content about juicing and tips, check out our [buying guides](/blog/buying-guides) and [news and trends](/blog/news-and-trends).
Pros
- Durable and long-lasting
- Efficient juice extraction
- Preserves natural flavors
Cons
- Heavy and may require effort to operate
- Initial cost may be higher compared to plastic juicers